

Start with the real-world need
When you are working with 3D scanning systems, you’re not just interested in how the scanner touches a point. You need to check how it handles 3D space. This is why calibration balls become essential.
A single ball calibration is fine for CMM systems, but when you’re working with scanners, you’re dealing with volumetric accuracy. That’s where the calibration ball comes in.
Why you need it
3D scanners collect data from many angles. If your calibration ball is not correct, your point cloud will be inconsistent. The scanner will give you distorted measurements, even if the individual points seem fine.
Step-by-step calibration process
- Fix the ball securely
Just like CMM, stability is critical. The ball should not shift during the scanning process. - Measurement distribution
Same as CMM – 25 points on the ball. Use a rotation step to ensure that you measure all critical regions. - Probe calibration
Whether you’re using a tactile probe or an optical scanner, make sure your equipment is calibrated before starting the measurement. - Data fitting
Fit the points to the sphere using least squares fitting. This gives you the center coordinates and diameter.
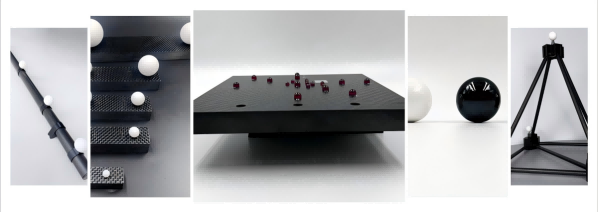
What really affects 3D scanner calibration
For 3D scanners, there are additional considerations:
- Point cloud density: More points = better accuracy.
- Alignment accuracy: Ensure that the calibration ball is aligned with the scanning system.
Conclusion
Using a calibration ball for 3D scanning systems ensures that your scanned data is accurate across the entire volume, not just at isolated points. Volumetric accuracy is just as critical in 3D scanning as it is in CMM setups.