

Start with the wrong assumption
Most people think choosing a calibration ball is about picking the highest accuracy.
That’s not always true.
In real setups, what matters more is matching the ball to your measurement task, not just chasing specs.
Step 1 – Define what you actually need to check
Before selecting a calibration ball, ask:
- Are you checking probe accuracy?
- Or verifying system performance?
- Or validating a 3D scanner?
Because:
- Single ball → good for local accuracy
- Multiple artifacts → better for spatial checks
If you choose the wrong type, even a perfect ball won’t help.
Step 2 – Diameter is not just a number
Larger balls are easier to measure, but not always better.
In practice:
- Small balls → better for tight spaces
- Large balls → better for stability and repeatability
For 3D scanners, larger spheres are usually easier to detect and fit.
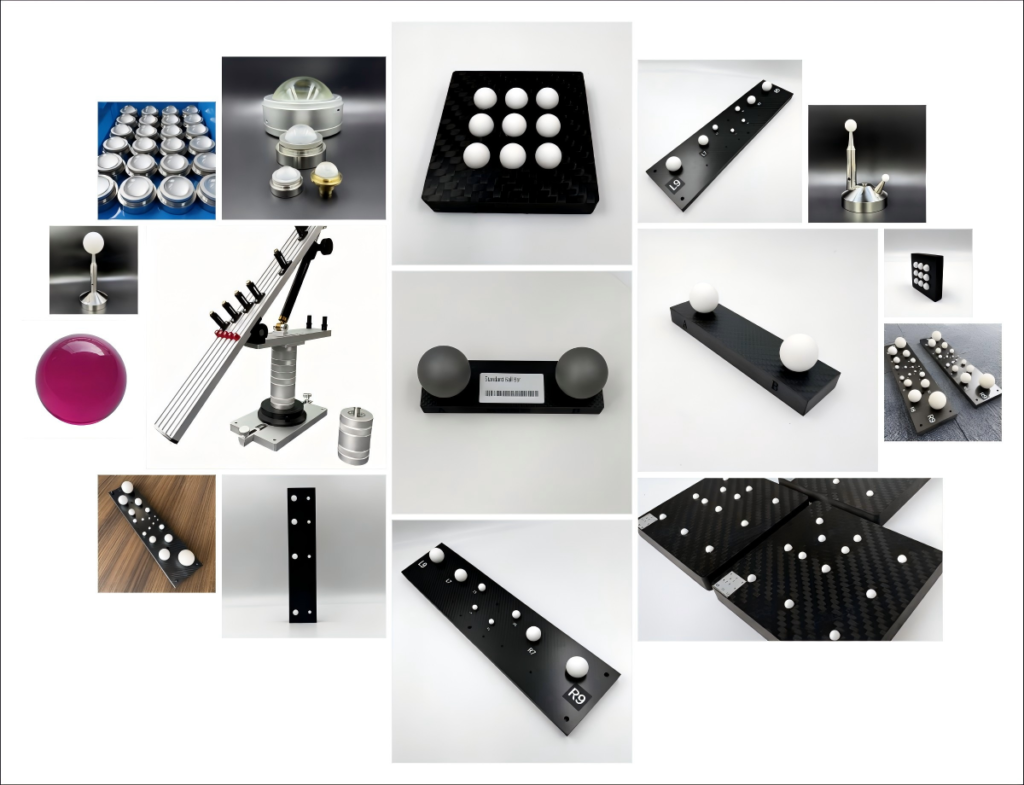
Step 3 – Material choice (this affects long-term results)
Typical options:
- Steel
- Ceramic
- Carbide
From experience:
- Steel works, but reacts more to temperature
- Ceramic is more stable over time
- Carbide is durable but heavier
If you run calibration frequently, ceramic is usually the safer choice.
Step 4 – Surface finish (often ignored)
This is where many setups go wrong.
- Polished → best for CMM probing
- Matte → better for optical / 3D scanning
If you use a polished ball for scanning, you may get unstable point clouds.
Step 5 – Accuracy vs usability
Very high precision balls are sensitive.
That means:
- More careful handling
- More sensitive to environment
- Higher cost
So the real question is:
👉 Do you need that level of accuracy?
Final thought
A good calibration ball is not the most accurate one.
It’s the one that gives stable and repeatable results in your actual setup.