Start with the reality
In most CMM setups, a ball bar is not the first thing you use.
It becomes useful when you want to check how the machine behaves in space, not just how well it touches a single point.
That’s the key difference.
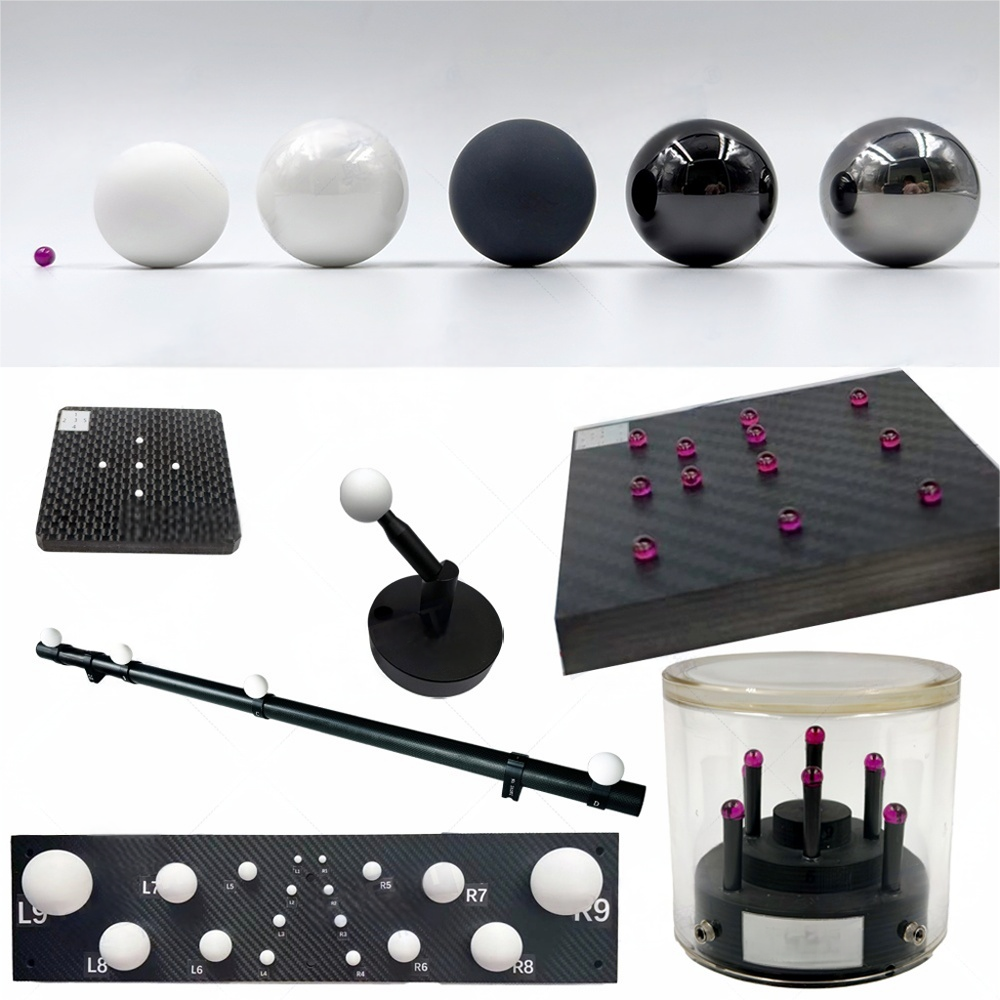
A ball bar lets you evaluate:
- Sphere geometry (local accuracy)
- Distance between spheres (spatial accuracy)
And that’s why it’s also used in 3D scanner verification.
Step 1 – Setup matters more than people think
Fix the ball bar on the table. That sounds simple, but this is where a lot of error comes from.
What actually matters:
- The bar should not move during probing
- Avoid long overhang setups
- Try to keep it inside the stable measurement volume
If the setup is unstable, everything after this step is meaningless.
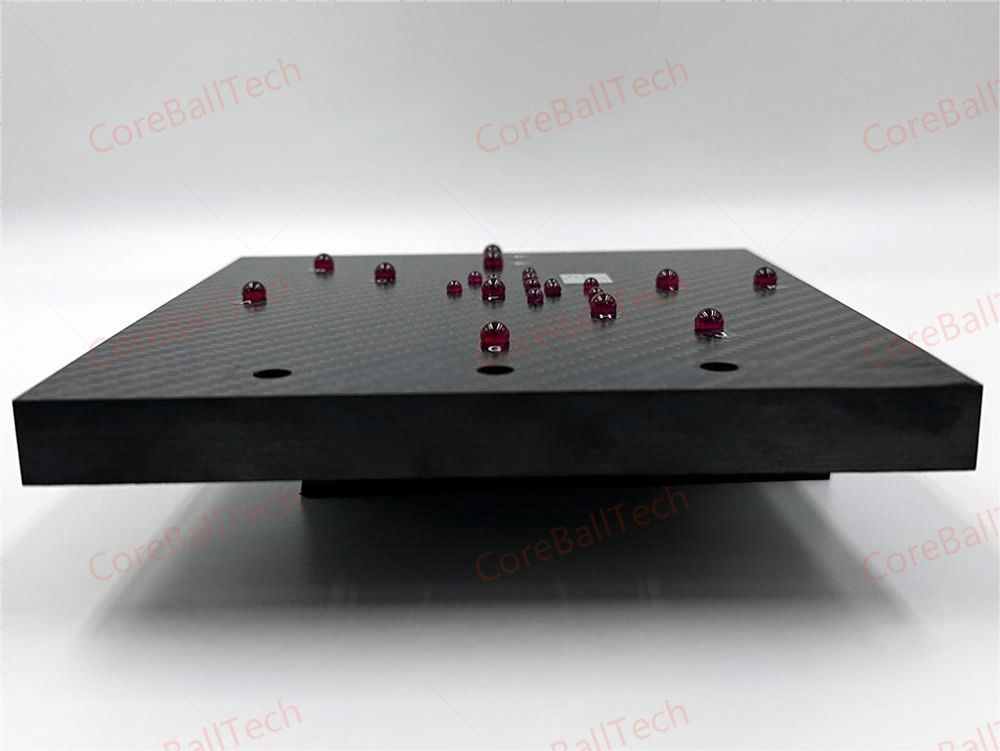
Step 2 – Point distribution (don’t just follow the textbook)
You’ll often see the “25-point method”. Yes, it works.
Typical distribution:
- 1 point at the pole
- 4 points at 22.5°
- 8 points at 45°
- 4 points at 67.5°
- 8 points at the equator
But in practice:
- If the sphere quality is high → you can reduce points
- If you suspect form error → increase density near critical areas
Also, rotate each layer slightly.
Otherwise, you’re just repeating the same measurement direction.
Step 3 – Probing (this is where operators make mistakes)
Two common issues:
- Touching near the stem area
- Inconsistent probing force
You should always avoid the mounting region.
The geometry there is not ideal and will affect fitting.
For long stylus setups, even small force variation can shift results.
Step 4 – Fitting the sphere
Most software uses least squares fitting. That’s fine.
What matters more is:
- Are your points evenly distributed?
- Do you have outliers?
Bad data → good algorithm still gives wrong results.
Step 5 – What you actually look at
After fitting, you get:
- Diameter
- Form error
- Center position
But engineers usually care about this:
👉 Do the center distances make sense?
Because:
- Diameter tells you local quality
- Distance tells you machine behavior
Step 6 – If you are using a 3D scanner
The logic is similar, but the risks are different.
Instead of probing errors, you deal with:
- Point cloud noise
- Alignment drift
- Occlusion
A ball bar helps because spheres are easy to fit mathematically.
That’s why they are preferred over complex geometries.
Common mistakes (seen in real setups)
- Too few points on large spheres
- Ignoring temperature changes
- Reusing old probe calibration
- Assuming symmetry = accuracy
Final thought
A ball bar doesn’t just tell you if your CMM is “accurate”.
It tells you where and how it is wrong.
And that’s the only reason it’s useful.